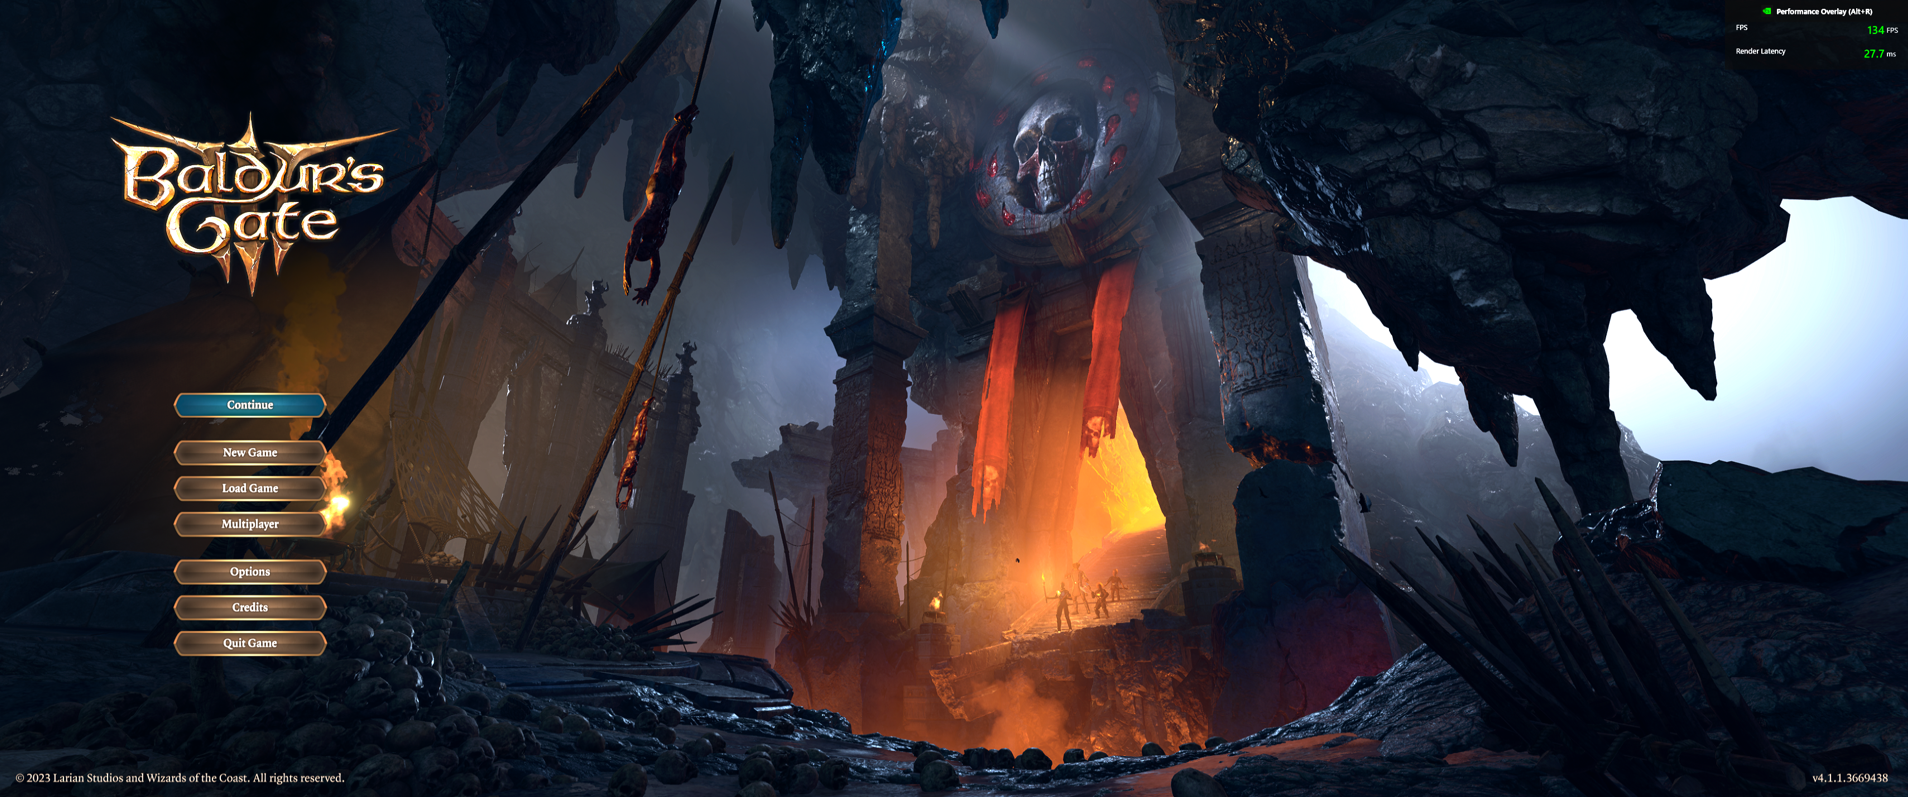
Weeks ago, I finally finished Baldur’s Gate 3 Act 1. I played 10 or so hours back during the release month due to FOMO, but stopped to playthrough Starfield. After that, I was too intimidated to jump back into BG3 due to all the choices, potions, equipment and hours of gameplay.
I felt like it was finally time to soldier through it. What followed was a wild ride of a story that felt like it was “mine”. There was a dizzying amount of choice though obvious guardrails exist. As long as it took me to jump back in, it took me even longer to pull away from playing to finally write.
Creating my Baldur’s Gate 3 Character

For my “Tav”, which is the default character name, I chose a Golden Dwarf. I thought it’s a nice change to the usual warrior or mage I’d pick in other RPGs. For his class, I chose Rogue to be sneaky and easily break into things. I set Charisma high and chose a Charlatan background for the high deception/sleight of hand.
My plan was to play a smooth talking thief who mostly has a good heart, but lusts for powerful arcane items. I knew the small stature would lead to disadvantages for movement speed and strength, but it’s so different from my usual character choices.
Crazy Baldur’s Gate 3 Act 1 Opening and Finding my Footing

I don’t know much about Dungeons & Dragons, but I expected medieval setting and magic. It was strange to first see the tentacle faced Mind Flayer fetching a tadpole to put into my characters eye. This was immediately followed by the giant flying tentacle Nautiloid ship bursting out of the clouds.
It flew over a city, snatching citizens from the street with the tentacles. Crazy? sure, but then dragon riders started chasing and the Nautiloid teleported into an ice covered landscape. From there it teleported to the Hells with demons flying around. I then went through the tutorial of trying to escape the ship.
All before crashing into the outskirts of the city from the beginning.
BG3 Turned Based Combat

The biggest deterrent for players not used to playing turned base RPGs like this is the combat. There’s for sure a learning curve. The natural instinct is to attack first, but Baldur’s Gate 3 combat is all about advantages. I had to retrain my brain to use my first turn to gain an advantage.
I’d do that by either dashing to the high ground, finding shadows to hide in, using potions, coating weapons, using items and/or magical enhancements. The chance of successful attacks is shown upfront, but everything runs via invisible dice rolls. A 90% chance to hit could still fail, so gaining advantage early is key.
Once I retrained my brain to prioritize gaining the advantage, the combat became much easier for me. Outside of combat, there’s visual dice rolls that include advantages based on class, equipment or blessings. They help bring some interesting consequences when holding conversations, disarming traps, picking locks or performing other skill based actions.
Baldur’s Gate 3 Act 1 Companions
As I started my journey around the crash site, I started picking up companions who also had the worms in their brains.
Shadowheart

She was my first. Shadowheart seemed like a dark haired goth girl with a secret. Later on, I found she was a follower of Shar, a dark religion. Her magic and attitude made her an early favorite of mine. Plenty of healing spells and options to raise the dead.
She became an almost permanent member of my 4 person party. It was obvious she would butt heads with anyone not a Shar fanatic like herself. That led to interesting interactions with other party members at camp and on the road.
Astarion

He is the perfect companion for evil playthroughs. Our first meeting started with a fight and throughout our journey he general disapproved of any kind heart gestures I made. It was also a nice surprise to find out he’s a Vampire. He’d live of wildlife, but humanoid blood made him stronger.
I allowed him to suck my blood to make him stronger, but the game made it clear you can let him go too far. It’s also possible to completely freak out and have the whole came kill him. Stake straight to the heart. He’s too interesting of character to do that to, in my opinion.
Lae’zel

She was obviously going to be my tank class companion. She wore full armor and her Githyanki race is almost like a humanoid gremlin. Her tribe despises Mind Flayers, so the tadpoles in our heads posed an interesting problem.
Her conversation style was very abrupt. She preferred action and strength with no shows of weakness. I think she was the hardest one to convince not to kill Astarion.
Gale

He was the next I found. I literally had to give him a helping hand by pulling him out of a portal. He’s a very cheery wizard and packed with plenty of offensive magic spells. What was annoying about him in Act 1 was that he periodically needed to consume magic items.
He basically had to absorb a piece of my best loot so he didn’t explode. I never did test pushing him to his limits, but would be interesting to go back and try.
Karlach

She is the demon looking Tiefling warrior. She has an Infernal Engine from the hells that basically keeps her on fire, too hot to touch. That whole bit is an important part of her backstory. She has a great personality where she jokes around and sometimes bounces around dancing, ready to fight.
Later in Act 1, she became my favorite tank. Her strength is crazy and she has plenty of health. She had an interesting journey from Baldur’s Gate to the Hells to serve as a slave to a demon. Her goal is revenge for being sold, with a smile.
Wyll

He was the last companion I picked up. He is famous for being “The Blade of Frontiers” and his dad is also a big deal in the actual Baldur’s Gate city. Although he’s known for his blade, he’s also a warlock. His mix of melee and magic was interesting, but he was my least favorite character for awhile.
He was the stereotypical good guy until we found out he sold his soul to a demon in return for glory, then grew horns. That bit made his character a bit more interesting. He’s not so innocent after all.
The big advantage Baldur’s Gate 3 has with it’s companions is they are interesting, diverse and optional. I could choose to not team up with any of them, in fact, I had the option to kill them all. It’s also an option to choose them as your origin character.
There are backup followers to buy, so the game allows a lot of freedom for introverts and psychopaths.
My Crazy Baldur’s Gate 3 Act 1 Story

Emerald Grove
The crazy started out early. I remember using a speak with the dead scroll to interrogate a corpse. It was weird, but great as an option to advance the lore and story. I chose not to kick an aggressive squirrel and used an animal speaking potion to make peace with him.
Around that area, I fought my way through the Dank Crypt and recruited Withers. He is a wrinkly faced corpse looking being, but a must have for the camp. He could revive my dead companions, fetch new ones or respec my character.
I rescued some refugees near the Druid camp and later uncovered a plot by the leader, Kagha, to recruit shadow druids. Later, I tried seeking help from the Druid alchemist only for her to try to poison us due to the Mind Flayer tadpoles. I managed to make peace with them all to work against the Goblins.
It definitely helped later on that I rescued their leader, Halsin. The favor he owed me helped save the Tiefling refugees. I even saved some Tiefling children from Harpies. They turned out to be a group of little thieves whose hideout I found. Instead of turning them in, I funded their operation as a fellow thief.
I spoke with a Strange Ox who is obviously something else, perhaps a thread to pull later. Met Dammon who helped cool Karlach overheating engine during a side quest. I chatted up a Goblin prisoner who offered to help me if I freed her. A great option for a bad guy playthrough, but I let her rot.
Putrid Bog and Riverside Teahouse
Beyond the creatures and traps in the bog, I met an obvious witch, Auntie Ethel. She’s like the one from Hansel and Gretel. She offered her help in exchange for my eye, but I want to keep my eye. I was also on a mission to save the women she kidnapped, Mayrina. That started a crazy series of events.
After I figured out the hidden entrance to her underground lair, I fought some of her minions and stole their special masks. Those were my keys to get deeper into her lair, but they also started to put me under the witch’s spell. I luckily passed the dice rolls to get it off before bad things happened. I am curious what would happen if I did not.
I dealt with a bunch of traps and tricks from Auntie Ethel, but I defeated her in the end. With the help of a magic hand spell, I was also able to save the girl she kidnapped. Without that spell, it would be a race against time I’d like lose.
The crazy thing is Mayrina was upset because the witch promised to bring back her husband. I found the witch’s wand and raised her dead husband, but not in the way she hoped. Instead of completely reviving him, I ended with an undead slave I can now summon for a fight using the wand. The girl did not like that at all.
Outside of the witch’s teahouse, I found a Vampire hunter that was actually looking for Astarion. I couldn’t help but taunt them both by revealing his target was right in front of him. With my power of persuasion skills, I managed to convince them to spare each other. Another thread to pull later and entertaining banter.
Waukeen’s Rest
I met the Flaming Fist group after a goblin attack and helped saved some of them from a burning building. Their group is a big deal in Baldur’s Gate, so it was only natural I’d help them to gain an advantage later.
Their task for me was to find their leader, Grand Duke Ravengard, who happens to be Wyll’s dad. I later found this task will actually span multiple acts.
Before I reached this area, I saved some merchant’s that I figured out where actually thieves. By making a deal to sell the goods they’d claimed were lost, they gave me access to their hideout. That I found behind the burning building in a barn or shed.
When I found the underground thieves hideout, my new partners in crime were found out. One was dead and the other beaten for trying to steal from their fellow thieves. I convinced their leader to make a new deal to split the proceeds instead.
The only wrinkle was I had to kill the thief I original made the deal with, but easy choice, it didn’t end well for him. He broke the number rule of thievery,, don’t get caught. Again, good to have friends in high and low places for later. I also managed to buy an Artist from them as a slave, but I released him hoping for a good reward from him later.
Friends in low places continued as I soon met, the illustrious Rafael. He turned out to be a demon offering to fix my tadpole problem for the low fee of my soul. It’s yet another set of choices presented to me. I told him to take a hike, but fighting him or accepting were also options.
Those probably would not have ended well. Someday I’ll go back and try.
Blighted Village
Poor Barcus. The first thing I saw in this area was the Gnome, Barcus, tied to a windmill and spinning around. A group of goblins watched and laughed. As followers of the “Absolute” (the big bad of the game), my tadpole in the brain gave me some authority over the goblins.
I convinced them I was superior and they should leave. With them gone, I saved Barcus instead of pushing the wrong level that would have sent him flying. He thanked me with some supplies and later joined my camp.
He convinced me to help find and rescue his “friend” Wuhlbren from the Absolute’s fortress at Moonrise Tower (which was obviously an Act 2 thing).
With my authority, I convinced other goblins in the area not to attack. I then proceeded to convince some Ogres not to eat me and start working for me. It was great to avoid a hard fight and gain battle allies, but I later saw I could have just collapsed the house roof on them. The choices.
I found a cellar with a hidden cave system with plenty of occult goodies. Picked up a book, the Necromancy of Thay, that reminded me of the Necronomicon. It’s something I could have easily missed, but there’s a whole set of lore around it.
In order to even open the book, I had to find and kill a Spider Queen in a hidden cave system. It’s a crazy thread that players could easily miss.
Around that village, I even picked up Scratch the dog, who became my camp pet. There was even an incident where curiosity got the best of me. Heard some strange noises from a shed and ended up interrupting 2 large, ugly creatures having an intimate moment. They were not happy.
Goblin Camp
I managed to sneak into the Goblin camp, then convince them I was supposed to be there. They were savages. One of them was using an Owlbear cub I saved earlier on as entertainment. I convinced them to let me take it and convinced it to join my camp as a friend for Scratch.
Another Goblin taunted my character by mentioning they were roasting a dwarf (my Tav’s race) right in front of me. I played it cool and laughed of his taunt, knowing I’d kill them all. All the Goblins outside were drinking in celebration, so I got my revenge by poisoning their drink supply.
Those that didn’t die, suspected me, but my silver tongue convinced them otherwise. When I got inside, I was able get the Goblin Priestess alone, killed her then had Lae’zel throw her body off an edge to hide the evidence. Nearby, there was a man undergoing torture. I convinced the torturer I could do better, then freed him.
I then let the torturer whip me in another room to get more information out of him. My pain tolerance was not enough for him, so he moved onto the Goblins around me. I then found Halsin, the Druid leader, and rescued him.
Saving Halsin to Save the Grove
It was funny that he was in bear form when I found him. It helped aid in the fight to set him free. Saving him was just a start though, he wanted me to kill the True Souls, those with parasites in their heads working with the Goblins.
The priestess was one, but then I killed a Drow named Minthara. Turns out I could have recruited her on an evil playthrough, or with the right persuasion checks. Once I found out, I went back and took her body with hopes to revive, but there’s no bringing her back.
I also killed the last True Soul and convinced Halsin to help save refugees in the Grove. Good guy mission completed, but then I systematically isolated and murdered all the remaining Goblins in camp. I also rescued the weird Volo writer or poet or whatever. He’s been at my camp since.
Underdark
After my Goblin slaughter, I entered the Underdark underneath their camp. It’s crazy how much content is in Baldur’s Gate 3 Act 1, because this was a whole other map. There were spores, traps, a big burrowing creature to fight and a few Minotaur. The first truly crazy part occurred when I found petrified Drow (evil elves).
I knew something bad was going to happen and I was right. A giant flying eye with tentacles attacked me and recruited the formerly petrified Drow. I luckily swapped Lae’zel for Karlach before venturing into the depths and she helped me defeat the creature, known as a Spectator.
By focusing my attacks on it instead of the Drow, I managed to save them all. Turns out that was a mistake. They didn’t want competition on their little treasure hunt, so I ended up fighting them too. Sometimes the “good” choice is not the “right” one.
Passed their now dead bodies, I found an Arcane Tower with great loot and some important lore about a lost Githyanki prince. That little piece started a whole thing where I asked Lae’zel about it in camp and she complained it was heresy.
Back in the tower, we fought some automatons created by the owner of the tower which led to a secret room with more great loot. None of that tower was required and could easily be missed in Baldur’s Gate 3 Act 1.
All Hail the Mushroom People
Continuing my exploration, I found a Myconid colony (basically mushroom people.) I helped them by killing Duergar (dark dwarves) that massacred some of their people. In their camp, I also used my medical knowledge to cure Thulla, a Gnome injured in one of the attacks.
I even “saved” a forgetful husband from a field of explosive spores by casting Misty Step (like teleporting) on him . Problem is, I accidentally destroyed a rare plant in the process. It could have cured his memory loss, but instead I sent him back to his slave driving wife.
Nearby, I also met a friendly Mind Flayer, Omellum, who was a member of the Society of Brilliance. He attempted to help us with our tadpole problem, but no luck. It was clear I’d meet other members of the Society later.
After helping everyone in the Myconid colony, an outcast named Gut asked for my help to avenge his dead colony. Problem was I already killed them all, so after I showed him he still wanted revenged. He blamed the other Myconid colony for not helping him, so he asked me to kill them for their weakness.
Another choice that could go a completely different way, but I refused and had to kill him. It was then I was off to the Grymforge area.
Grymforge Area
Right after I took the boat to the Grymforge area, another Duergar boat confronted me and asked where the owner of that boat was. Well they are dead, because I killed them all. I talked my way out of trouble. It helped that I found the missing boots his Sergeant was looking for.
When I met the Sergeant and handed over the boots, it was clear I’d kill her along with her troops. First though, she wanted help to free Nere, a True Soul trapped behind rubble. I’d be completely happy leaving him there to die, but he was trapped with some Gnomes I did want to save.
My first time around, I was able to save him, but he immediately blamed and killed one of the Gnomes. We all fought and my entire party died. For the next try, I realized a better strategy was in order. After some exploring, I killed some Duergar that were whipping animals, with the animals help, thanks to speak with a animal potion.
Killing Nere and the Followers for the Absolute
I found some Duergar mercenaries that hated Nere and convinced them to fight with me. For my second attempt, I placed most of my party on high ground, then saved Nere. After I got lippy enough with him to want to fight, queue the mercenaries.
We pretty easily killed them all. I even got the chance to have Lae’zel push one of them into lava. Fun stuff. My new mercenary allies wanted to keep the Gnomes I meant to save, but my powers of persuasion won again. Refreshing to succeed by talking instead of a constant fight.
With some exploration around the Grymforge area, I found the Adamantine Forge. While trying to use the forge, I found myself in a fight with the guardian of it, Grym. It was a tough fight that I failed at several times before realizing the trick to make him vulnerable was the lava.
I could have easily killed him with that knowledge, but it would take a very long time. The great thing about Baldur’s Gate 3 Act 1 though, is ideas for using the environment to your advantage is almost always paid off. The giant press for the forge crashes down with a flip of the switch, so I lured him to it and crashed it down on him.
Once I learned the tricks, I made pretty quick work of him. For my efforts, I was able to forge a fantastic piece of armor for Lae’zel and earned her a helmet she’s worn ever since. That whole sequence is just another easy to miss area.
There’s so Much to Miss in Baldur’s Gate 3 Act 1
Near the forge, I noticed a side area with more lava, a chest and a giant lava creature. The few “safe” places to walk in order to get to the chest were next to lava explosions. I thought better of taking a direct path to fight the creature.
I placed my party on high ground and then used arrows to lure it over to me. It had no way to get up to us and I’d move my party members back after each attack. The fire elemental just had to take the punishment until we killed him.
When I opened the chest that caught my eye, there was a Sentient Amulet inside. It contained the ghost of Monk, cursed with never ending laughter. He gave me a quest that was obviously going to span multiple acts.
I also had the option to wear the amulet and to gain it’s powers, but at the risk of the occasional laughter curse. My Tav character wants the power, so I am willing to chance a curse here and there. It only happened a few times since I started using it.
These things could be something someone doesn’t find until a future playthrough. I’m glad I found all these things on the first pass. That area also hid a door that would send me to Act 2, but I chose not. I knew the Mountain Pass was still calling my name to explore before leaving Act 1.
Baldur’s Gate 3 Act 1 Mountain Pass
When I neared the bridge to the mountain pass, we spotted Githyanki soldiers slaughtering Flaming Fist members. One of the Githyanki rode a fire breathing red dragon. It was a crazy sight. At the time, Lae’zel was not in my party, but it was obviously a good idea to have her, so I fetched her from camp.
Lae’zel was excited to meet more of her kind, but it turns out they are sort of pricks. I let her do all the talking, but they were hell bent on finding a stolen artifact. It just happened to be the artifact that Shadowheart carried. It could have easily turned to a fight, but I was able to convince Lae’zel to play it cool.
They tasked her with finding the artifact and basically treated the rest of us as her slaves. We convinced her that it was the only thing keeping us from becoming Mind Flayers (at some point we learned it blocks the commands from the “Absolute”).
After making my way to the Mountain Pass, I met another member of the Society of Brilliance, Lady Esther. She wanted me to steal a Gith egg to raise them in their society as an experiment to see how deep rooted their aggression is.
Obviously, Lae’zel was not a fan and I was not about to steal one for a crazy lady. I did go to the Githyanki Creche to seek a cure from their scientist, but no luck there. I was able to convince the caretaker of their eggs to give me one. It failed to hatch fast enough, so Gith leadership want it disposed of.
I convinced the caretaker to let us take it and raise it instead. There was no way I was giving that to the crazy Esther lady, soI gave it to Lae’zel instead. My hope was the motherly instincts may calm her down.
Hoping to make powerful allies and please Lae’zel, I told the Githyanki inquisitor that we had the artifact they wanted. It was a mistake. We gained an audience the Gith Queen and she promised to cleanse us, but that meant death. She demanded we kill the person inside of the artifact, known to them as the Astral Prism.
The problem with that is the entity inside of it was the only thing saving us from falling under the tadpole’s control. Instead of heeding those orders, I took the opportunity to meet the entity inside the prism and decided not to kill them.
Why instantly lose our protection? Good thing I made that choice because the Queen’s order was to kill us no matter what I did. It was a tough fight, but I dispatched of her underlings and found a secret passage to avoid fighting everyone in the Crech.
That secret passage also led me to complete a Blood of Lathander puzzle to gain an awesome Mace. I’ve used that mace all the way through Act 2.
Right before moving onto Act 2, I met Gale’s BFF, Elminster. He’s apparently a famous wizard and he gave me full on Gandalf vibes. The guy liked to speak in almost poetry, so I loved telling him to get to the point. Fell like he was talking in paragraphs instead of sentences.
Unfortunately, he came with good news and bad news. Good news is that he came with a cure for Gale’s addiction to absorbing magic items. The bad news was it would come at great cost. He’d have agree to sacrifice himself by becoming a magic nuke to blow up the source of the Absolute cult.
Moving onto Baldur’s Gate 3 Act 2

After plenty of camp shenanigans I won’t go into, I enjoyed the party to close out Baldur’s Gate 3 Act 1. It took so long as there was so many choices and possibilities. There’s a dizzying amount of dialog from companions, but they do still often only have the same things to say.
I guess being able to ask them the same thing over and over is for those that are forgetful. Now I look forward to moving onto the next chapter and seeing how my choices carry over. Onto Baldur’s Gate 3 Act 2.